Electric Scooter Handlebar Grips Replacement Guide (2026)
Worn or slippery grips ruin control and comfort. This electric scooter handlebar grips replacement guide covers tools, sizing, installation, and torque specs in about 30 minutes.
目录
- Why Replace Your Electric Scooter Handlebar Grips?
- Signs Your Grips Need Replacing
- Tools and Materials You'll Need
- Step-by-Step Electric Scooter Handlebar Grips Replacement Guide
- Step 1: Power Down and Secure the Scooter
- Step 2: Remove the Old Grips
- Step 3: Clean the Handlebar
- Step 4: Test-Fit the New Grips
- Step 5: Install the Grips
- Step 6: Torque and Safety Check
- Step 7: Test Ride
- Choosing the Right Replacement Grips
- Size Matters
- Material Options
- Ergonomic vs. Standard
- How Often Should You Replace Grips?
- Pro Tips for a Better Result
- Frequently Asked Questions
- How long does it take to replace electric scooter handlebar grips?
- Can I use bicycle grips on my electric scooter?
- Do I need special tools for grip replacement?
- What size grips fit most electric scooters?
- Are locking grips better than standard grips?
- Final Thoughts
Why Replace Your Electric Scooter Handlebar Grips?
Your handlebar grips are the only part of an electric scooter you touch constantly. When they wear out, you lose more than comfort — you lose control. A 2025 survey by the U.S. Consumer Product Safety Commission noted that grip-related handlebar issues contributed to a noticeable share of e-scooter incidents, often because riders ignored early signs of wear. If your grips feel slick, rotate under your palm, or leave black residue on your gloves, it's time for a replacement.
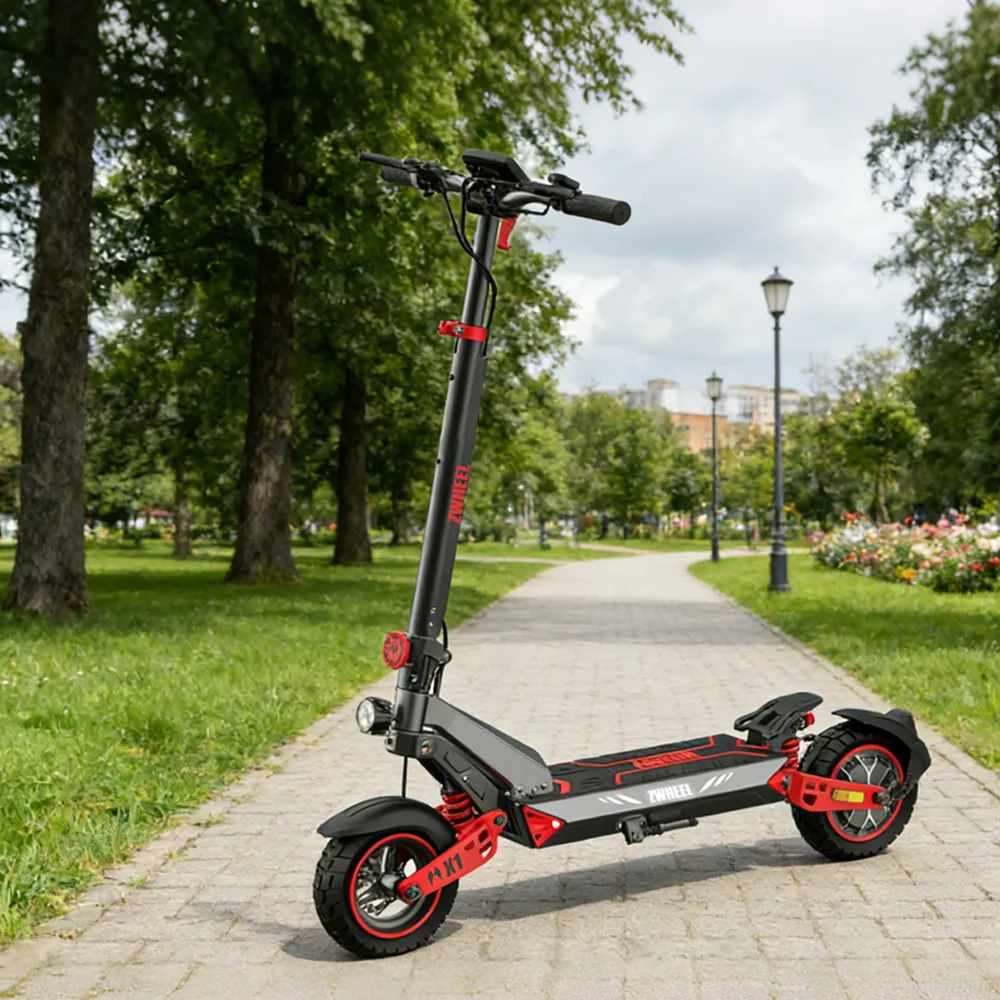
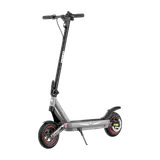
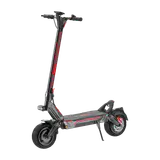
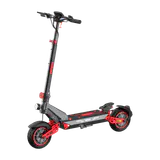
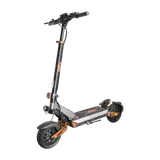
This electric scooter handlebar grips replacement guide walks you through everything: identifying wear, choosing the right size and material, gathering tools, and installing new grips correctly. The whole job usually takes 20–40 minutes and costs $15–$40 in parts. Whether you ride a commuter like the Zwheel ZSA Plus or a high-power machine like the Zwheel ZSD2, the process is nearly identical.
Signs Your Grips Need Replacing
Grips don't fail overnight. They degrade gradually, so watch for these indicators:
- Visible wear: Flattened spots, cracks, or the inner sleeve showing through.
- Rotation: The grip twists on the bar even when you squeeze. This is a safety hazard.
- Sticky residue: Rubber breaking down and transferring to your hands or gloves.
- Loss of tackiness: Your hands slide when wet or sweaty.
- Hardness: Rubber feels stiff and transmits vibration more than before.
Most grips last 1,500–3,000 miles depending on UV exposure, grip compound, and how often you ride in rain. If you commute daily, plan on replacing them roughly once a year.
Tools and Materials You'll Need
Gather these before you start:
- New grips sized for your bar diameter (typically 22.2 mm / 7/8 inch)
- Isopropyl alcohol (90%+) or grip adhesive
- Compressed air (optional but very helpful)
- Hair dryer or heat gun (low setting)
- Utility knife or box cutter
- Allen key set
- Torque wrench (for throttle/brake housing bolts)
- Clean rags
- Safety glasses and gloves
If your scooter uses locking grips (common on higher-end models), you'll also need the correct hex bit to loosen the lockring.
Step-by-Step Electric Scooter Handlebar Grips Replacement Guide
Step 1: Power Down and Secure the Scooter
Turn off the scooter, unplug the charger, and if possible remove the battery or disconnect the main lead. You'll be working near the throttle and brake wiring, so eliminating power reduces risk. Lay the scooter on a clean mat or use a repair stand.
Step 2: Remove the Old Grips
There are three reliable methods:
- Compressed air: Slide a nozzle under the grip edge and blast air while twisting. This is the cleanest method.
- Isopropyl alcohol: Inject alcohol between grip and bar with a syringe. Wait 30 seconds, then twist off.
- Heat + cut: Warm the grip with a hair dryer, then carefully slice it lengthwise with a utility knife. Never cut toward your hand.
If your scooter has a locking grip, loosen the lockring with an Allen key first. Then slide the grip off — no cutting required.
Step 3: Clean the Handlebar
Old adhesive and rubber residue cause new grips to slip. Wipe the bar with isopropyl alcohol until it's completely clean and dry. Inspect for rust, burrs, or bends. If the bar is bent, replace it — no grip will fix a damaged handlebar.
Step 4: Test-Fit the New Grips
Before applying adhesive, dry-fit both grips. They should slide on with firm resistance — not loose, not impossibly tight. Check that the throttle and brake levers still move freely and that the grip doesn't interfere with the controls.
Step 5: Install the Grips
Two approaches work well:
- Alcohol method: Wet the bar and grip interior with isopropyl alcohol, slide on quickly, and let it evaporate. The grip locks in place within 10–15 minutes.
- Adhesive method: Apply a thin layer of grip adhesive or hairspray to the bar, slide the grip on, and let it cure for 24 hours before riding.
For locking grips, slide on and tighten the lockring to the manufacturer's spec — usually 4–6 Nm.
Step 6: Torque and Safety Check
Re-tighten throttle and brake housing bolts to spec (commonly 5–8 Nm, but check your manual). Give each grip a firm twist — it shouldn't move. Squeeze the brake lever, test the throttle with the scooter off, and confirm nothing rubs.
Step 7: Test Ride
Start in a safe, open area. Ride slowly for the first few minutes and check for slipping, vibration, or control interference. If anything feels off, stop and re-inspect.
Choosing the Right Replacement Grips
Size Matters
Almost all electric scooter handlebars are 22.2 mm (7/8 inch) in diameter. Measure yours with calipers before ordering. Grip length typically ranges from 120 mm to 140 mm — longer grips suit riders with larger hands.
Material Options
- Rubber: Best all-around grip, good vibration damping, affordable.
- Silicone: Softer, excellent in wet conditions, but wears faster.
- Foam: Lightest and most comfortable, but least durable.
- Lock-on grips: Easiest to install and remove, premium pricing.
Ergonomic vs. Standard
Ergonomic grips with a palm rest reduce fatigue on long commutes. If you ride 30+ minutes daily, they're worth the extra $10–$20.
How Often Should You Replace Grips?
Inspect every 500 miles. Replace when you notice rotation, cracking, or slickness. Riders in hot, sunny climates may need annual replacements; those in milder areas can go 2–3 years. High-performance scooters like the Zwheel ZSE2 benefit from more frequent checks because of higher speeds and vibration loads.
Pro Tips for a Better Result
- Wear nitrile gloves when handling adhesive.
- Mark grip position with tape before removal so you match the original angle.
- Use a torque wrench — overtightening cracks housings.
- Replace grips in pairs, even if only one is worn.
- Keep spare grips on hand if you ride daily.
Frequently Asked Questions
How long does it take to replace electric scooter handlebar grips?
Most riders finish in 20–40 minutes. Lock-on grips are faster (10–15 minutes); adhesive-mounted grips need 24 hours of cure time before riding.
Can I use bicycle grips on my electric scooter?
Yes, if the bar diameter matches (usually 22.2 mm) and the length fits. Many riders prefer lock-on MTB grips for their durability and easy installation.
Do I need special tools for grip replacement?
No specialty tools are required. Isopropyl alcohol, a hair dryer, and basic Allen keys handle most jobs. Compressed air makes removal easier but is optional.
What size grips fit most electric scooters?
Standard handlebar diameter is 22.2 mm (7/8 inch), and grip length is typically 120–140 mm. Always measure your specific scooter before ordering.
Are locking grips better than standard grips?
Locking grips are easier to install and remove, resist rotation better, and last longer. They cost more but are worth it for daily riders and high-power scooters like the Zwheel ZSB2.
Final Thoughts
Replacing your electric scooter handlebar grips is one of the simplest, cheapest, and most impactful maintenance tasks you can do. This electric scooter handlebar grips replacement guide should give you the confidence to tackle the job yourself in under an hour — improving comfort, control, and safety on every ride. Inspect your grips regularly, replace them at the first sign of wear, and enjoy a better-connected feel every time you step on the deck.
作者
Zwheel Team
Zwheel 编辑团队成员,专注于电动出行趋势、产品指南和骑行技巧。